
To make your own henna cookies, you need a bad-ass recipe for royal icing. I used the recipe from The Art of the Cookie, a must have for your cookbook collection. There are gorgeous photos and the recipes are outstanding.
![]()
Royal Icing for Decoration
4 Cups Confectioner’s Sugar
3 Tablespoons Meringue Powder
1 Teaspoon Vanilla or Almond Extract
1/4 – 1/2 cup water
1. Using an electric mixer, a stand mixer is the best, mix all the ingredients. However, start with 1/4 cup of water and add more if the mixture is tough, like cement. I usually use 1/2 cup water, but that can vary because of the humidity in the air.
2. Mix on medium speed for 7-8 minutes, or until the icing is light and fluffy.
3. This is the icing base. At this point, you will need to thin it to make the icing thin enough to pipe. Add a small spoon of water and mix. Keep doing this until when you drizzle the icing into the bowl, it should remain a ribbon for five seconds.
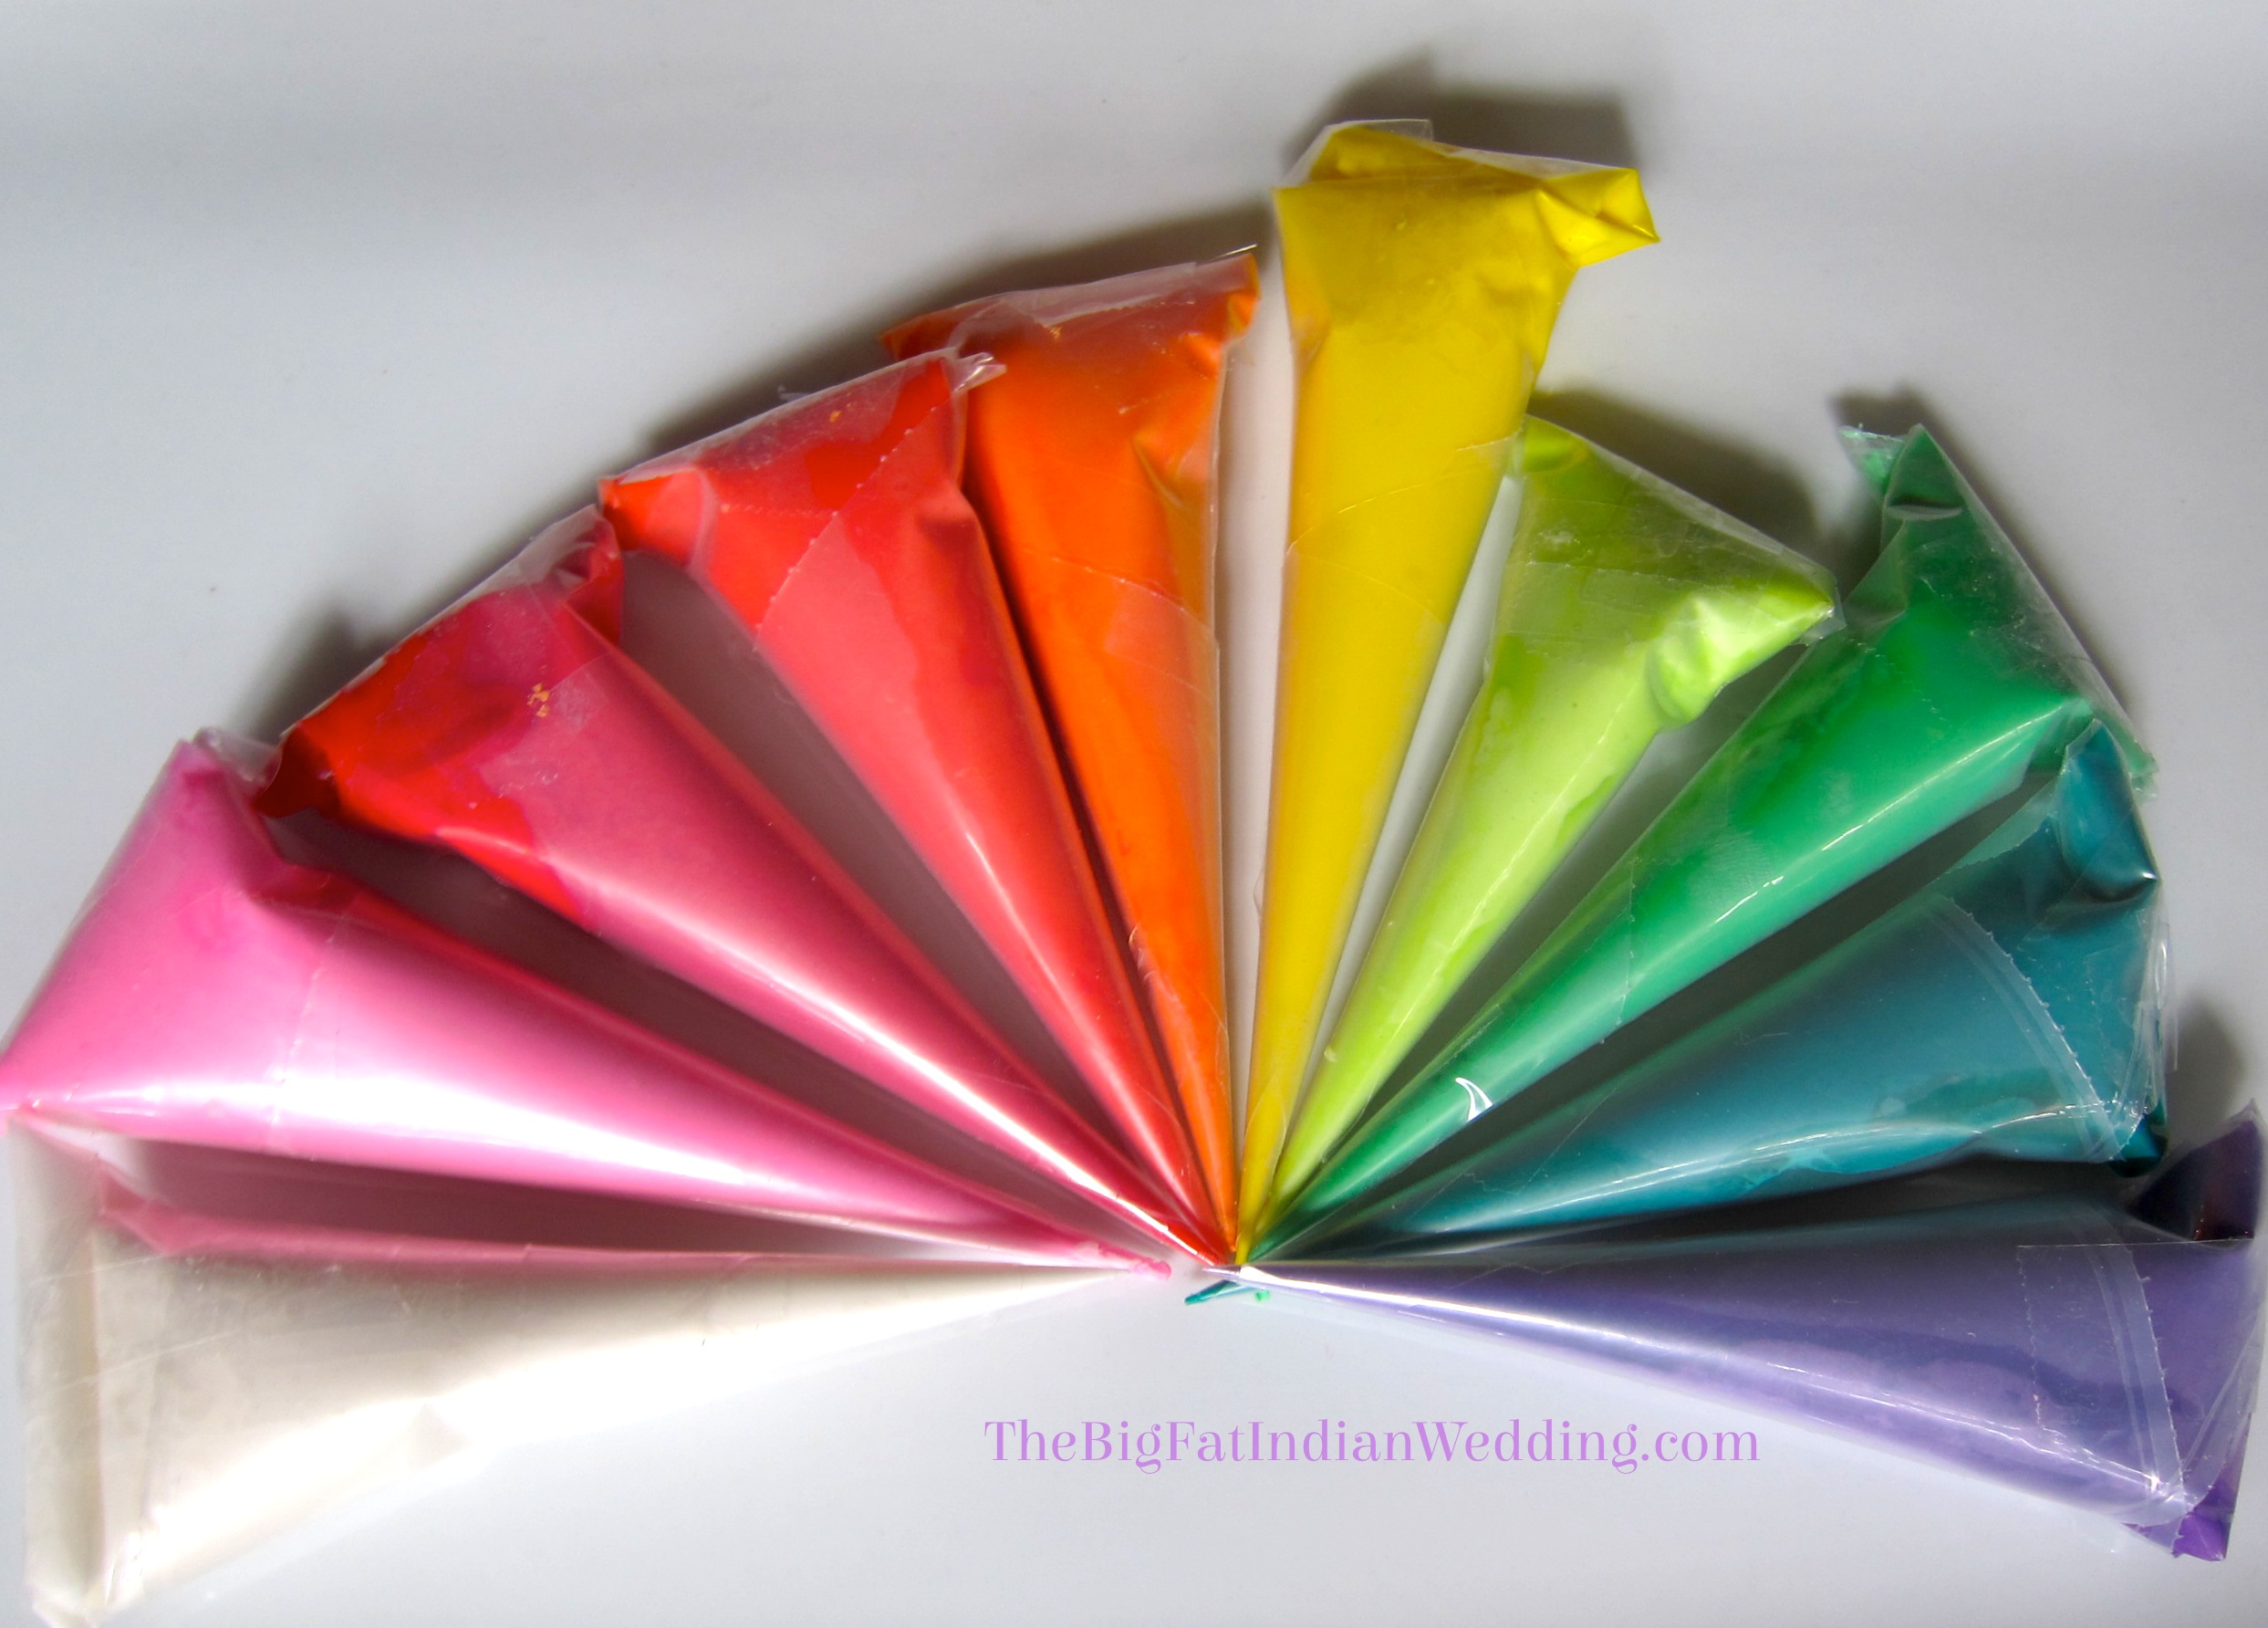
4. The batch of icing will make 7-8 small, henna sized cones, and 2-3 large, 12″ cones. AmeriColor is the best choice for food coloring. I love their neon colors.
To make your cookies extra fancy, buy luster dust, glitter (disco dust), and nonpareils for decoration. But don’t buy Wilton’s Jimmies sprinkles, they taste disgusting! The edible glitter and luster dust are tasteless. You’ll just poop glitter. Yea, awesome, right?
5. To make the cones, buy 12″ pastry bags. My favorite is Daymark Handy Grip that comes in a pack of 100. You can use them with the metal pipe tips or, make your own small henna cones.
To learn how to make the cones, follow Darcy’s video tutorial. Instead of using mylar, take one pastry bag, cut it open and cut against the long side, basically follow the folds. You should have two semi triangular pieces. One 12″ pastry bag will make two royal icing henna cones.
Happy icing whipping!