Valentine’s Day is barely two weeks away. And that means, a lot of chocolate and roses. Billions of them.
Well, this year, why don’t you make something truly special? Something you, your sweetie, and possibly even some friends you love, will truly adore.
For the next week, Shriya and I will be bringing you, my darlings, yummy and delicious homemade Valentine desserts.
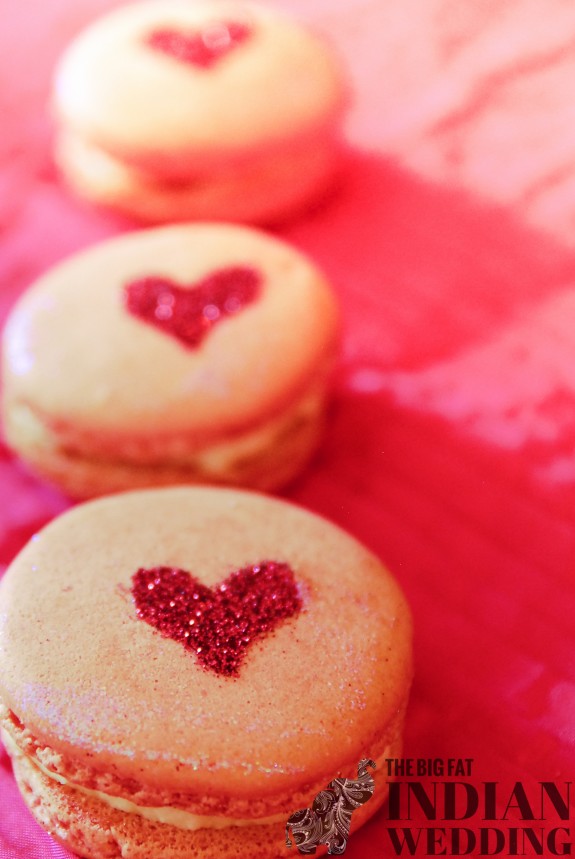
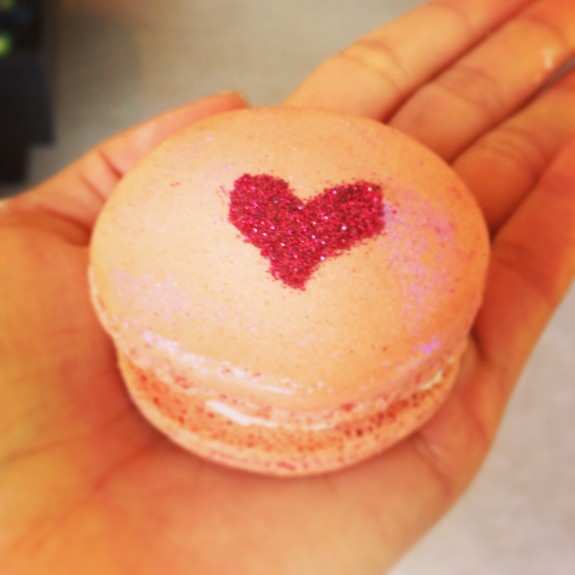
Today, we have some absolutely gorgeous French macarons with rose flavored buttercream. Oh, and to make these macarons truly special, they are decorated with glitter hearts.
Squeeeee~! Who doesn’t love glitter, hearts or macarons?!
I found this recipe from pastry chef extraordinaire Stella at Bravetart.com. She has written many articles about macarons and after reading them, you will neither be scared nor a total novice when making them.
French macaron recipe
To measure these out please use a kitchen scale
. Please.
4 ounces (115g) blanched almonds or almond flour, or whatever nut you like
8 ounces (230g) powdered sugar – sifted!
5 ounces egg whites (144g) – temperature and age not important!
2 1/2 ounce (72g) sugar
the scrapings of 1 vanilla bean or 2 tsp vanilla extract
1/2 tsp (2g) kosher salt
Your iPhone or a stopwatch
Parchment paper – to line the cookie tray
Rose cream cheese buttercream filling
bonus – this is an egg free buttercream!
350g butter – room temperature, but not mushy
350g powdered sugar – room temperature
600g cream cheese
1 tsp rose extract or 2 tsp rose water
Decorating the macaron
Exacto knife
Cardboard – cereal cardboard box is the best
Small paintbrush
Small bowl of water
Edible glitter – also known as disco dust – Buy CK Products, as they are the best and have the most variety of colors. Oh yes, and please make sure the glitter you buy IS edible!
The Almond Flour
You need to double sift your almond flour to get out any big bits.
If you want to make your own almond flour, you’ll need to bust out that food processor and get those almonds pulverized.
Le Macaronage
Le macaronage is the French word mixing the meringue with the base, the almond flour. Anyway, you can forget the this word for now. Let’s get to beating those egg whites.
1. Separate the eggs from egg whites and egg yolks. You won’t need the yolks, so keep them for french toast or something else. But put in the egg whites into the mixing bowl.
2. With your awesome Kitchenaid stand mixer (oui, they are awesome, buy one), dump in the sugar into the egg whites. No need to add slowly as some recipes suggest. The egg whites, by the way, do not need to be “aged”, ie. several days old. Honestly, age doesn’t matter here. But, having the eggs at room temperature is good.
3. Beat the egg whites and sugar mixture for 3 minutes at speed 4 – this is where your iPhone or stop watch comes in handy. This doesn’t look like much, except a bit of foaminess.
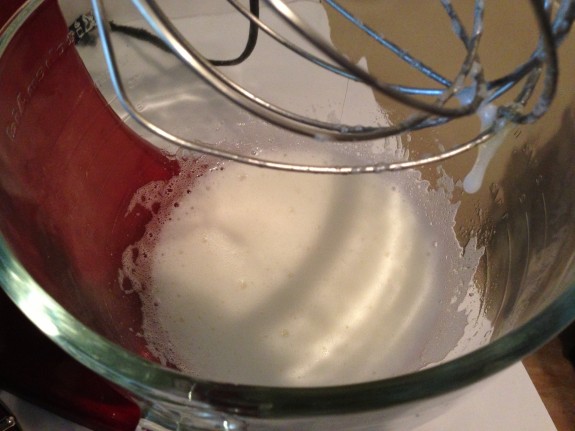
4. Beat for 3 more minutes at speed 6. The batter is starting to look like something but still has a ways to go.
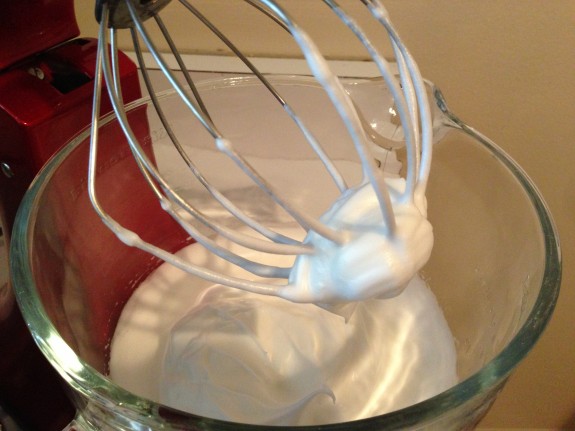
5. Now beat the mixture for 3 more minutes at speed 8. It is *nearly* ready. Your mix should look like a blob.
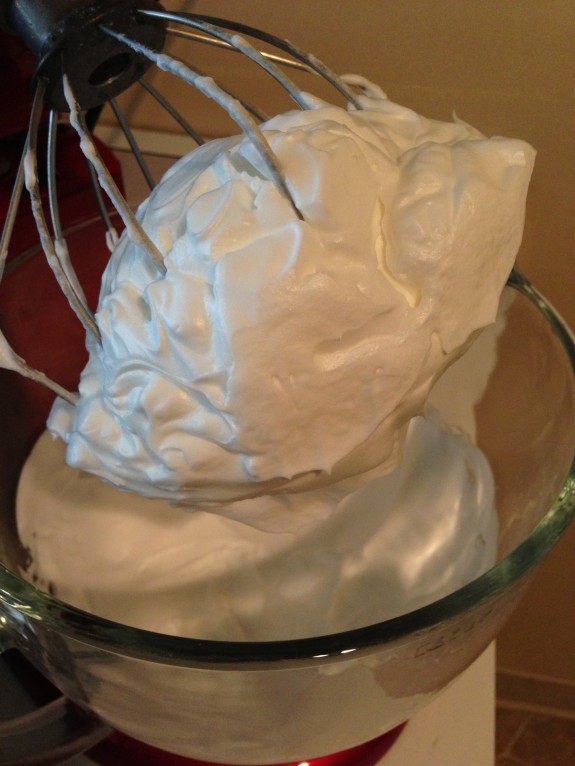
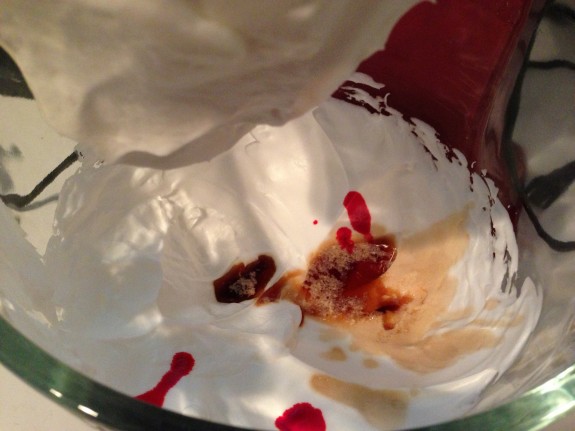
6. At this point, add the food color or extract and bump up the speed to the maximum, 10, for one more minute. As Stella says, “show them who’s boss”!
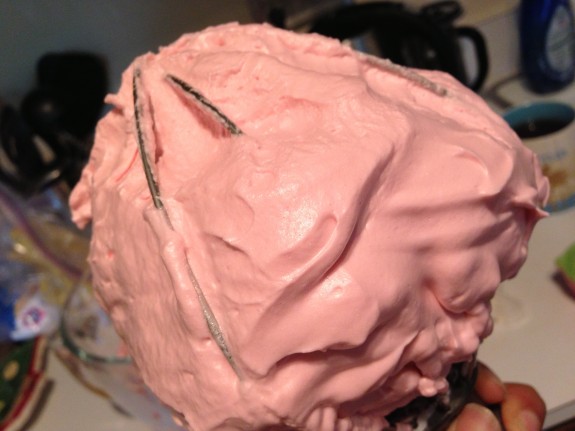
7. Now your meringue should be very stiff. If it’s not stiff like the photo below, give the batter another whirl at speed 6-8 until it stiffens.
8. Now that you’ve shown your meringue who’s boss, add in the almond flour. Did you make sure you sifted it? Yes? That is good, very good.
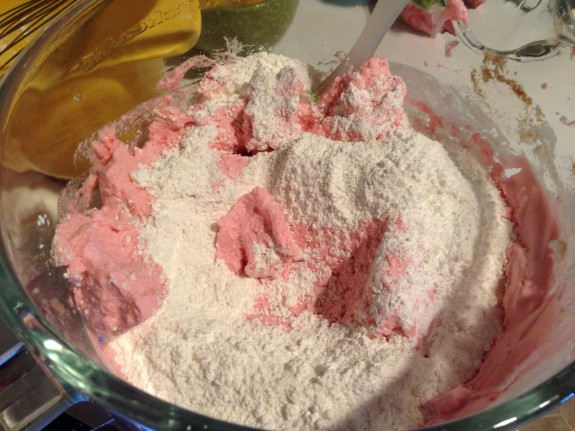
9. Lumps happen. That’s okay, you will need to fold in the ingredients with about 40-50 turns with a rubber spatula. This is the macaronage stage which is all about deflating the egg whites. I know, it sounds crazy that you just spent the last ten minutes making super stiff meringue, only to now deflate them. Mais oui, c’est la vie.
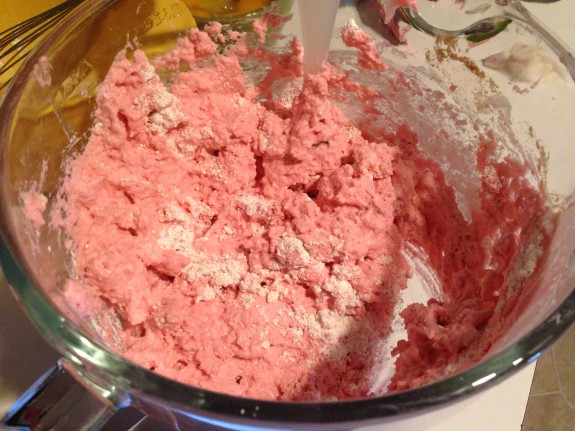
10. At this point, your batter should have the consistency of molten lava. Right, because we all have a volcano in the background. Think about the center of a souffle, it is thick and gooey, and not thin enough to be pancake batter. If you drop a spoonful of macaron batter into itself, it should dissolve within 20 seconds. That’s pretty thick!
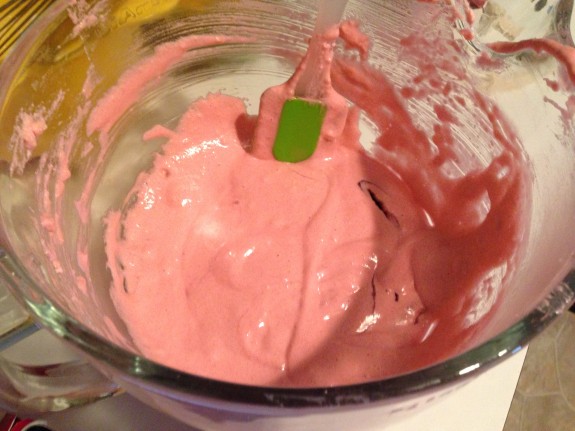
11. Pipe the batter! (Sorry, no photo of me piping the batter) I used a ziploc bag and cut a hole at one of the corners. There is a whole lot to say about whether you should let the macarons sit and develop a ‘skin’ or throw them in the oven right away. I suggest letting them sit for 30-45 minutes before baking. Why? Because this dries them out a little and forms that ‘skin’ that will hopefully not break during baking. Plus, as a beginner, this is a way to counteract any noob mistakes you make.
12. Oh, and gently, but firmly tap the tray to get out any locked air bubbles.
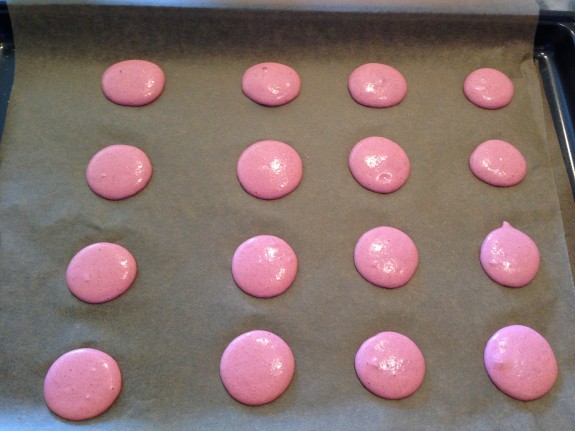
13. Bake at 320ºF for 12 minutes. If you have no idea how hot or cool your oven is, you better sit in front of the oven and watch these bad boys bake. My oven is insane, so I bake them at 320ºF for 9 minutes.
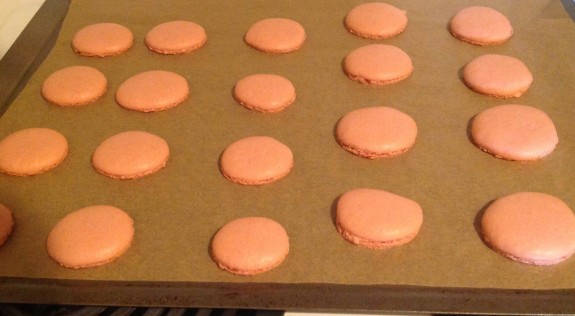
14. Once done, let them cool and make the rose buttercream! The rose buttercream is pretty easy. Dump the butter into the mixer. Mix until softened. Add powered sugar. Mix on medium, then add the cream cheese and rose water. Let mix for another 2-3 minutes.
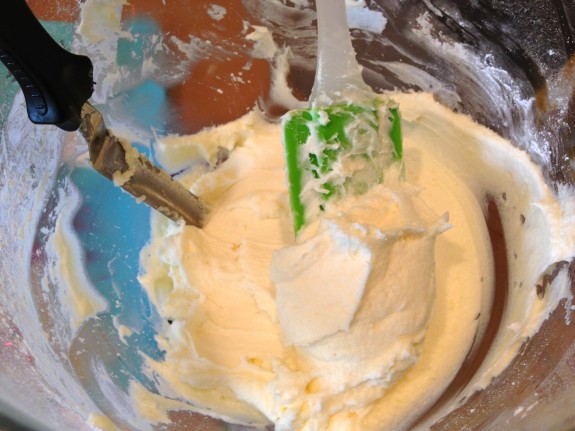
Now your Kitchenaid stand mixer can take a break, while you decorate the macarons.
Decorate the Macarons
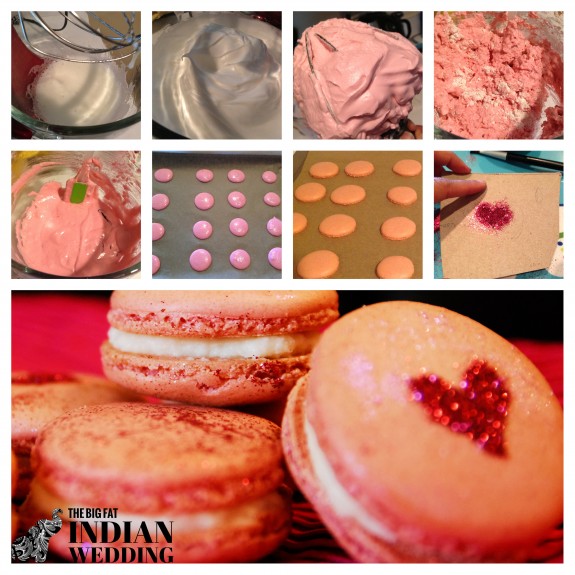
I’m sorry that I do not have any photos except for the one in the collage below on making the glitter hearts. But these are super easy, trust me.
15. Get a little piece of cardboard, a cereal box is great. Draw a heart, and cut it out with an Exacto knife.
16. Take your stencil and cover the macaron. With a *teeny* bit of water, use a paintbrush to fill in the heart. Grab your edible glitter and dust over. Then remove your stencil and shake off any remaining glitter.
The glitter is going to go EVERYWHERE. Just be prepared for glitter madness.
17. Fill your macarons, top them, and eat them!
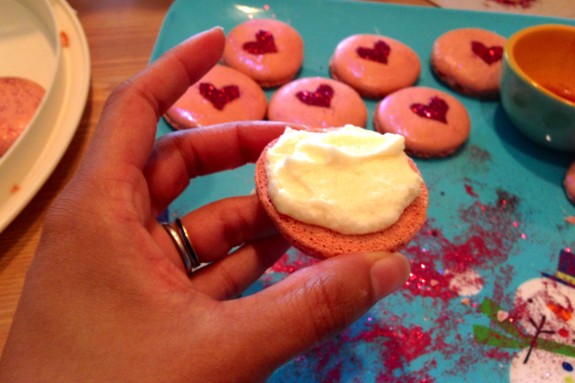
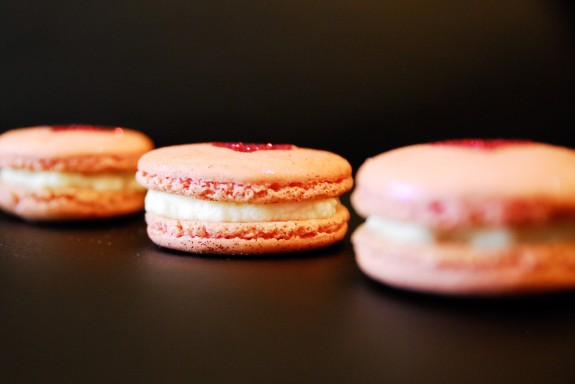
Pack these up for some special friends and family, and then enjoy them for yourself and your sweetie!
Macarons taste best after one to two days of making them. Weird, right? But this makes macarons the best dessert ever since you can bake the two days before Valentine’s, and not have to stress the day-of.
Happy glittery Valentine’s Day!

